When creating CI/CD pipelines for deploying IT infrastructures in onprem or in the cloud the preferred tools are:
- Ansible
- Packer
- Terraform
Terraform is usually used for creating virtualized resources (compute, networks, storage,…).
Packer is usually used for creating Windows and Linux VM base images.
Ansible is the preferred tool for configuration management, which means configuring Windows and Linux and installing software.
There are Windows binaries for Packer and Terraform. Which means you can develop and execute your Terraform and Packer configs on a Windows operation system.
On the other hand you can not run Ansible on a Windows machine. You can configure Windows and Windows Apps using Ansible, but this is usually done from a Linux controller host or a CI/CD pipeline. So, the execution environment is usually Linux.
BTW, CI/CD pipelines typically are based on a Linux operating system under the hood.
This brings some difficulties when you are working on an Windows machine for your daily use and developing and testing your automation project.
consistency between your local development environment and the CI/CD pipeline
To ensure code quality and doing effective testing it is essential in software development to have consistency between your local development environment and the CI/CD pipeline which brings your code into production.
Luckily Visual Studio Code, which is a popular code editor and development environment, has a concept named Visual Studio Code Remote – Containers.
The Visual Studio Code Remote – Containers extension lets you use a Docker container as a full-featured development environment. It allows you to open any folder inside (or mounted into) a container and take advantage of Visual Studio Code’s full feature set. A devcontainer.json file in your project tells VS Code how to access (or create) a development container with a well-defined tool and runtime stack. This container can be used to run an application or to separate tools, libraries, or runtimes needed for working with a codebase.
To learn more about devcontainer -> https://code.visualstudio.com/docs/remote/containers
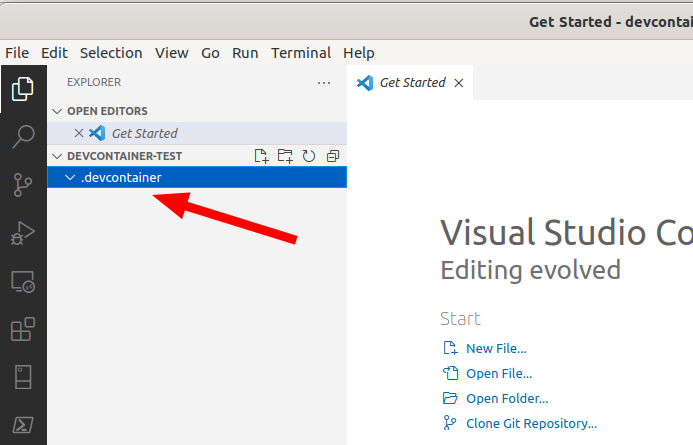
Step 1: Create a folder named .devcontainer
Create a folder named .devcontainer in the root of your automation project in VSCode.
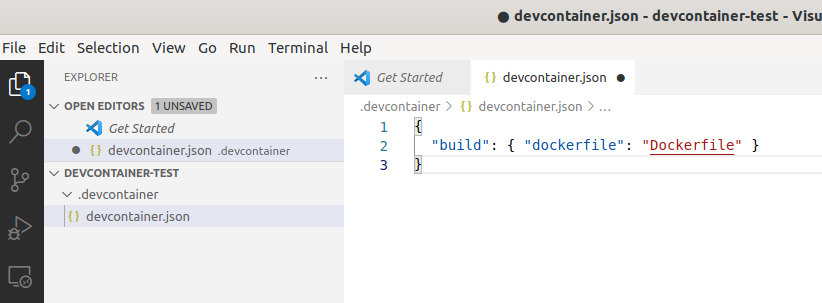
Step 2: Create devcontainer.json file
Create devcontainer.json file inside .devcontainer with the following contents:
{
  "build": { "dockerfile": "Dockerfile" }
}
Step 3: Create a Dockerfile
Create a Dockerfile which actually defines what should be available inside the docker container.
To define a docker container, which contains Ansible, Terraform, Packer and Azure Cli, create a Dockerfile and paste the following contents:
FROM ubuntu:focal
ENV DEBIAN_FRONTEND noninteractive
ENV TF_VERSION 1.1.7
ENV PACKER_VERSION 1.8.0

ENV pip_packages "ansible cryptography pywinrm kerberos requests_kerberos passlib msrest PyVmomi pymssql"

RUN apt-get update \
    && apt-get install -y --no-install-recommends \
        apt-transport-https \
        gcc \
        ca-certificates \
        curl \
        git \
        gnupg \
        jq \
        krb5-user \
        krb5-config \
        libffi-dev \
        libkrb5-dev \
        libssl-dev \
        lsb-release \
        openssh-client \
        python3-dev \
        python3-gssapi \
        python3-pip \
        python3-netaddr \
        python3-jmespath \
        python3-setuptools \
        python3-wheel \
        python3-pymssql \
        sshpass \
        unzip \
    && rm -rf /var/lib/apt/lists/* \
    && rm -Rf /usr/share/doc && rm -Rf /usr/share/man \
    && apt-get clean

RUN pip install --upgrade pip \
    && pip install $pip_packages \
    && pip install ansible[azure] \
    && ansible-galaxy collection install azure.azcollection community.general \
    && pip install -r ~/.ansible/collections/ansible_collections/azure/azcollection/requirements-azure.txt

RUN curl -O https://releases.hashicorp.com/terraform/${TF_VERSION}/terraform_${TF_VERSION}_linux_amd64.zip \
    && unzip terraform_${TF_VERSION}_linux_amd64.zip -d /usr/bin \
    && rm -f terraform_${TF_VERSION}_linux_amd64.zip \
    && chmod +x /usr/bin/terraform \
    && curl -O https://releases.hashicorp.com/packer/${PACKER_VERSION}/packer_${PACKER_VERSION}_linux_amd64.zip \
    && unzip packer_${PACKER_VERSION}_linux_amd64.zip -d /usr/bin \
    && rm -f packer_${PACKER_VERSION}_linux_amd64.zip \
    && chmod +x /usr/bin/packer

RUN curl -sL https://aka.ms/InstallAzureCLIDeb | bash

CMD    ["/bin/bash"]

Step 4: Automatic VSCode prompt
Close VSCode and reopen the project folder. This time VSCode prompts you if you would like to Reopen in Container.
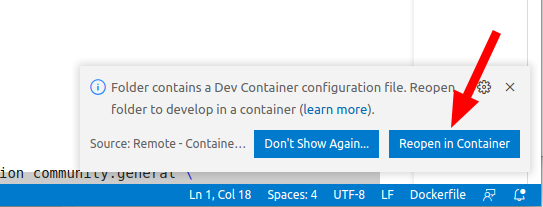
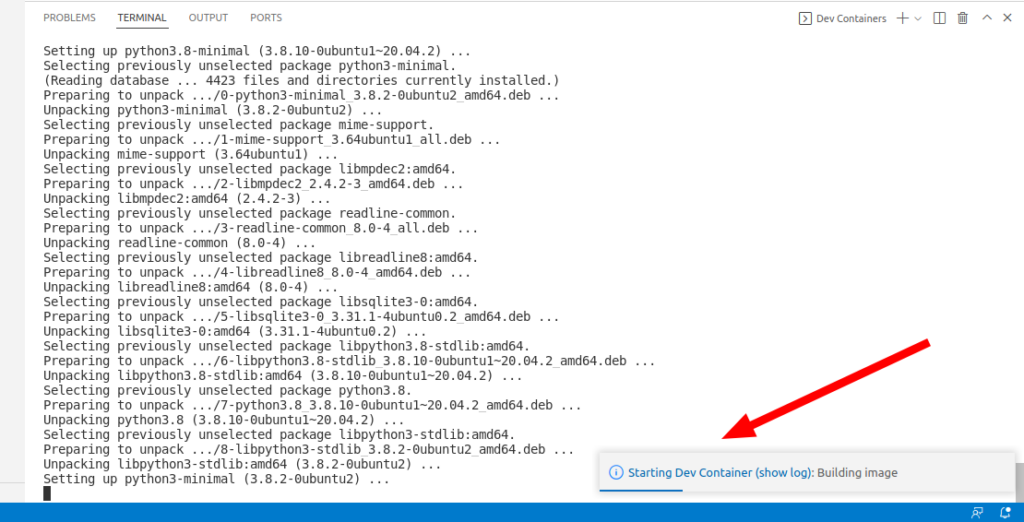
Your devcontainer is build automatically and started. The first time building can take a few minutes. Later the container is already there and needs only be started which is much quicker.
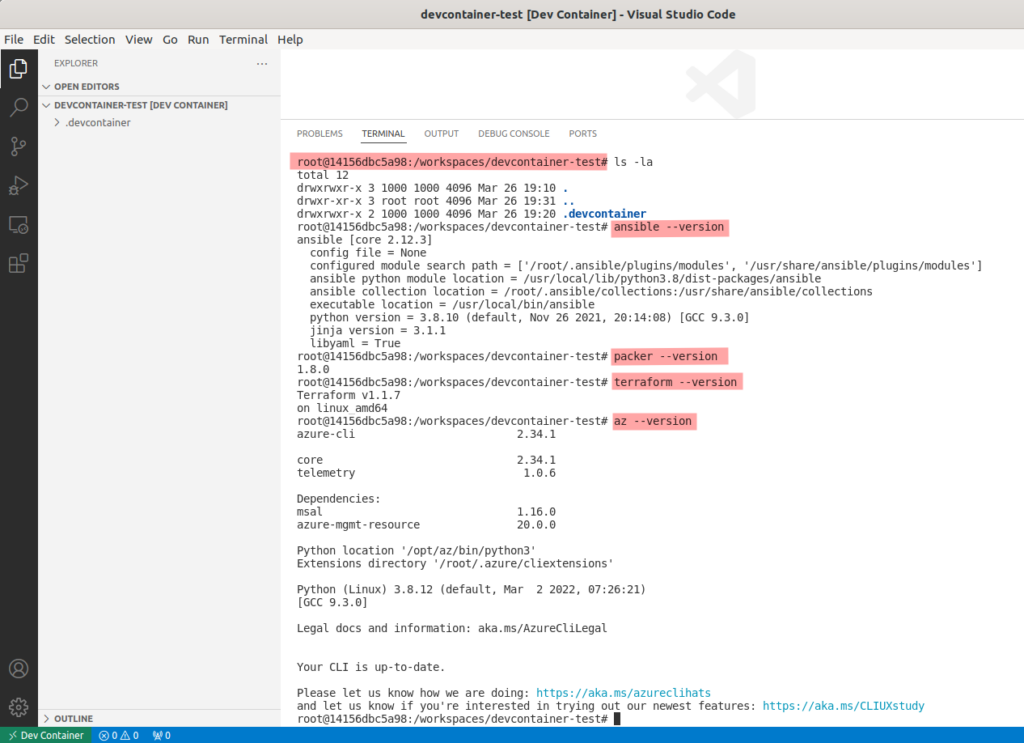
Finally
Finally you have a nice Linux command line with all tools available and your Windows filesystem mounted inside the container.